
Solar planning is the structured process of assessing, designing, and approving a solar energy system before a single panel is fitted. It covers four core stages: site assessment, regulatory compliance, system design, and installation. Getting this process right determines both your legal standing and your long-term financial return. Key frameworks include UK permitted development rights, the Smart Export Guarantee (SEG), and MCS certification, all of which shape what you can build and what you can earn from surplus power.
How solar planning works: the initial site assessment
The solar energy planning process begins with your roof. Orientation, pitch, shading, and structural condition all determine whether a system will perform well enough to justify the investment.
South-facing roofs at a pitch of 30–40 degrees produce the highest annual yield in the UK. East or west-facing roofs still work, but output drops noticeably. Shading from chimneys, trees, or neighbouring buildings causes disproportionate losses because most residential systems wire panels in series. One shaded panel can drag down the output of an entire string.
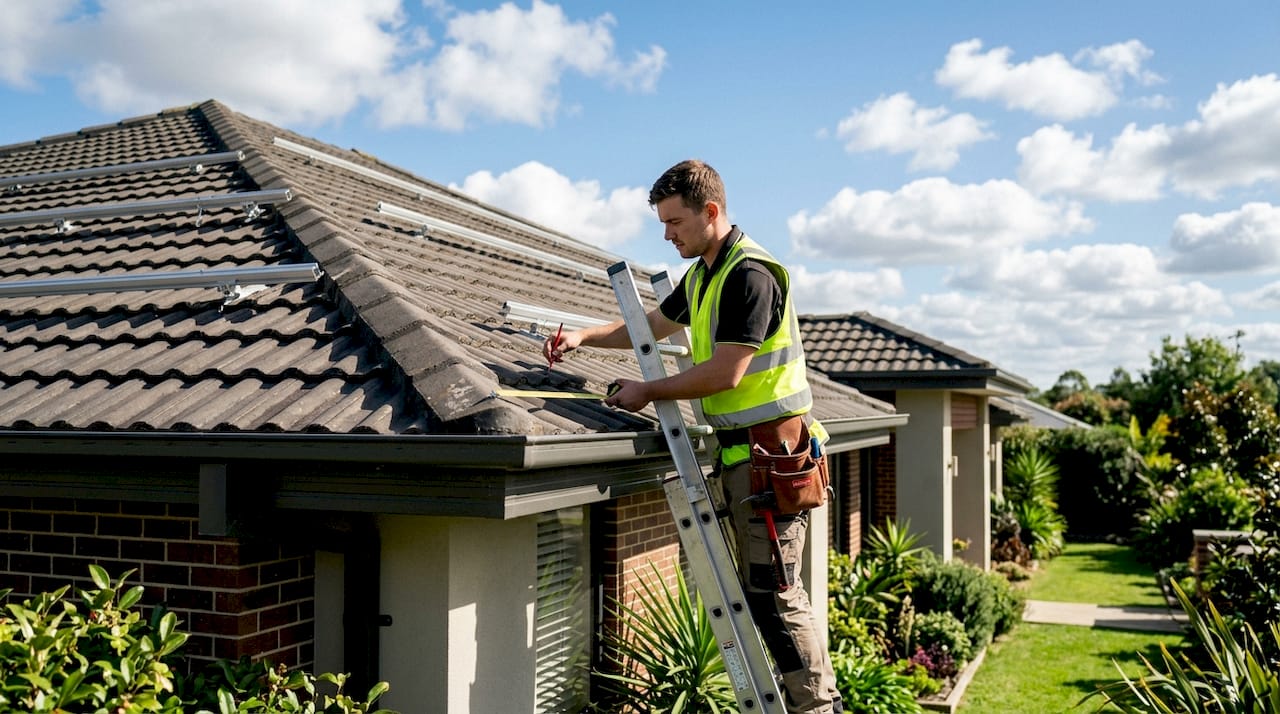
Your annual electricity consumption is equally important. Sizing the system to your actual kilowatt-hour usage is the single biggest factor in maximising financial payback. A system that generates far more than you use simply exports cheap electricity to the grid rather than displacing expensive imported units.
A good installer will review at least 12 months of electricity bills alongside satellite imagery of your roof. This combination gives a reliable picture of both your consumption pattern and your available roof space. Some installers also use drone surveys for complex or high-pitched roofs.
Key factors to assess before committing to a system:
- Roof orientation and pitch (south-facing at 30–40 degrees is optimal)
- Shading sources: trees, chimneys, dormer windows, and neighbouring buildings
- Roof condition and remaining lifespan (replacing a roof under panels is costly)
- Annual electricity consumption in kilowatt-hours
- Available roof area after accounting for obstructions
Pro Tip: Avoid over-sizing your system to reduce upfront costs and unnecessary export. A 4 kWp system suits most three-bedroom homes. Bigger is not always better when your grid export rate is lower than your import tariff.
How does UK planning permission affect solar installations?
Most homeowners do not need formal planning permission for rooftop solar. Domestic solar panels fall under permitted development rights, provided they meet specific criteria set out in UK planning guidance as of 2026.
The key permitted development limits are:
- Panels must not protrude more than 200mm beyond the roof plane
- Panels must not be installed on a highway-facing roof slope in a conservation area, World Heritage Site, or Area of Outstanding Natural Beauty
- The installation must not be on a listed building or within its curtilage
- Ground-mounted systems must not exceed 9 square metres in panel area or 4 metres in height
Listed buildings require listed building consent regardless of size. Conservation areas add restrictions on which roof slopes can be used, even if the system would otherwise qualify as permitted development. Local planning authorities can also issue Article 4 Directions, which remove permitted development rights in specific streets or areas. Checking with your local authority before ordering equipment is always worth doing.
Planning applications for solar panels, when required, should focus on material planning concerns such as heritage impact or landscape sensitivity. Arguing that solar is environmentally beneficial carries little weight with a planning officer assessing a conservation area application. The case must address the specific local impact.
| Scenario | Planning permission required? |
|---|---|
| South-facing roof, standard house, no protected designation | No, permitted development applies |
| Roof in a conservation area, highway-facing slope | Yes, full application needed |
| Listed building, any roof slope | Yes, listed building consent required |
| Ground-mounted system under 9 square metres | No, if other PD criteria are met |
| Ground-mounted system over 9 square metres | Yes, full application required |
Building regulations apply even when planning permission is not needed. Structural safety and electrical standards must be met, and a building regulation completion certificate is required. Missing this certificate causes problems when you sell the property.
What technical documentation does solar system design require?
System design is where the solar project planning steps become technical. The design must match your roof space, your consumption, and the grid connection rules that apply to your property.
A permit-ready design package includes more than a sketch of panel positions. Technical permit documentation requires electrical single-line diagrams showing how the system connects to your consumer unit, structural calculations confirming the roof can carry the load, and specifications for all major components including inverter, panels, and mounting system.
MCS certification is non-negotiable if you want to register for the Smart Export Guarantee. The MCS (Microgeneration Certification Scheme) standard requires both the installer and the equipment to be certified. Without MCS certification, energy suppliers will not accept your SEG application, and you will not receive payment for surplus electricity exported to the grid.
The numbered steps in a complete design and documentation process are:
- Calculate system size based on annual consumption and available roof area
- Produce a shading analysis and panel layout drawing
- Prepare an electrical single-line diagram showing inverter, generation meter, and grid connection
- Obtain structural calculations from a qualified engineer if the roof requires assessment
- Confirm all components appear on the MCS product list
- Compile a full permit package for submission to the local authority if required
- Notify the Distribution Network Operator (DNO) using the G98 or G99 process before commissioning
Solar design software speeds up steps 1 through 4 considerably. Tools used by professional installers can model shading, calculate annual yield, and produce layout drawings in a fraction of the time manual methods require. The output still needs a qualified engineer’s sign-off for structural elements.
Pro Tip: Ask your installer to provide the full permit package before work begins, not just a panel layout sketch. Incomplete documentation risks failing inspection and delays your building regulation sign-off.
How does installation and commissioning fit into the process?
A standard residential solar installation spans approximately 4–8 weeks from survey to commissioning. The physical installation itself takes only 1–2 days once scaffolding is in place. Most of the elapsed time sits in design, documentation, DNO notification, and scaffolding logistics.
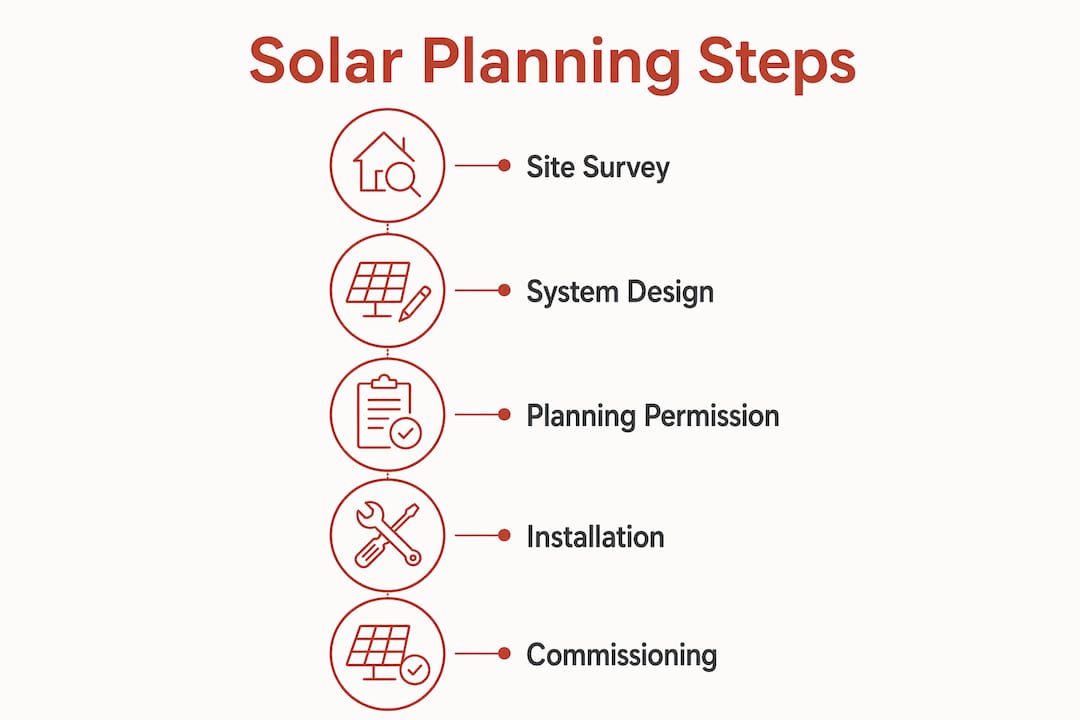
DNO notification is a step many homeowners do not anticipate. Systems up to 3.68 kW use the G98 process, which is a simple notification. Systems above that threshold require G99 approval, which involves a formal application and can take several weeks. Getting this wrong delays your grid connection and pushes back your commissioning date.
Once installed, the system must be inspected and verified against the permit drawings before the building regulation certificate is issued. Your installer should provide an MCS installation certificate, which you then use to register your SEG tariff with an energy supplier.
A typical 4 kWp system costs approximately £5,000–£7,000 installed. Adding battery storage brings the total to roughly £7,000–£12,000. These figures give a realistic budget for planning purposes in 2026.
| Stage | Typical duration | Notes |
|---|---|---|
| Site survey and design | 1–2 weeks | Includes shading analysis and system sizing |
| DNO notification (G98) | Up to 5 working days | G99 can take 4–8 weeks for larger systems |
| Scaffolding erection | 1–3 days | Depends on roof height and access |
| Physical installation | 1–2 days | Panels, inverter, generation meter, cabling |
| Inspection and sign-off | 1–2 weeks | Building regulations and MCS certificate |
Battery storage adds a further dimension to commissioning. Batteries act as fast-response balancing resources for the grid, not just personal backup. Planning battery integration from the outset, rather than retrofitting later, reduces installation costs and simplifies the DNO notification process. You can explore how this works in practice through solar battery savings examples from real UK installations.
For properties in rural locations, grid connection timescales can be longer and DNO requirements more complex. The rural solar installation process has its own set of considerations worth reviewing before you commit to a design.
Key takeaways
Effective solar planning requires accurate site assessment, regulatory compliance, and complete technical documentation before installation begins.
| Point | Details |
|---|---|
| Size to consumption, not maximum capacity | Match system output to your annual kilowatt-hour usage to maximise financial return. |
| Check permitted development limits early | Panels must not protrude more than 200mm and face restrictions in protected areas. |
| MCS certification is mandatory for SEG | Without MCS-certified installers and equipment, you cannot register for export payments. |
| DNO notification affects your timeline | G99 approval for systems above 3.68 kW can add 4–8 weeks to your project. |
| Building regulations apply regardless of planning | A completion certificate is required even under permitted development rights. |
Why I think most homeowners underestimate the planning stage
People tend to focus on the panels themselves and treat everything before installation as admin. That is the wrong way to look at it. The planning stage is where the financial case for your system is either built or broken.
I have seen installations where the system was sized for maximum roof coverage rather than actual consumption. The homeowner exports a large proportion of their generation at a fraction of the import rate. The payback period stretches out by years compared to a correctly sized system. Getting the sizing right at the assessment stage costs nothing extra and makes a material difference to returns.
The planning permission picture in 2026 is more nuanced than most online guides suggest. Article 4 Directions are more common than people realise, particularly in older town centres and conservation areas. I would always recommend a pre-application conversation with the local planning authority before spending money on detailed design in any protected zone. It takes a phone call and can save weeks of wasted effort.
The documentation requirement is the other area where I see projects go wrong. An installer who hands over a panel layout sketch and calls it a permit package is not giving you what you need. Full electrical diagrams, structural sign-off, and an MCS installation certificate are the minimum. Anything less creates problems at the point of sale or when you claim on your buildings insurance.
Solar planning is not complicated, but it does require thoroughness. The homeowners who get the best outcomes treat it as a project with defined stages, not a purchase with a delivery date.
— Simon
Smarthometechnical: solar planning and installation from survey to switch-on
Smarthometechnical handles the entire solar planning and installation process for homeowners and property developers across southern England. From the initial site survey and system sizing through to DNO notification, MCS certification, and SEG registration, every stage is managed by qualified electrical contractors who specialise in renewable energy.

Every installation uses MCS-certified equipment and installers, so your SEG registration is straightforward from day one. Smarthometechnical also prepares permit-ready documentation, including electrical diagrams and structural assessments, removing the risk of failed inspections. If you are ready to move forward, explore Smarthometechnical’s solar installation services or get in touch to arrange a no-obligation site survey.
FAQ
Does rooftop solar always need planning permission?
Most domestic rooftop solar installations do not require planning permission under permitted development rights, provided panels do not protrude more than 200mm and are not on highway-facing slopes in protected areas. Listed buildings always require consent.
What is MCS certification and why does it matter?
MCS (Microgeneration Certification Scheme) certification is required for both the installer and the equipment. Without it, you cannot register for the Smart Export Guarantee and will not receive payment for surplus electricity exported to the grid.
How long does the solar planning process take?
A standard residential installation takes approximately 4–8 weeks from survey to commissioning. The physical installation takes only 1–2 days; the remaining time covers design, DNO notification, and scaffolding.
What is the G98 and G99 process?
G98 is a simple notification to your Distribution Network Operator for systems up to 3.68 kW. G99 is a formal approval process for larger systems and can take 4–8 weeks, so it must be factored into your project timeline.
How much does a typical solar installation cost in 2026?
A 4 kWp system costs approximately £5,000–£7,000 installed. Adding battery storage brings the total to roughly £7,000–£12,000, depending on battery capacity and system complexity.
Recommended
- The role of solar in 2026 homes: a complete guide – Smart Home Technical Ltd
- Why switch to solar energy: a 2026 homeowner’s guide – Smart Home Technical Ltd
- Why solar suits rural homes: the complete 2026 guide – Smart Home Technical Ltd
- How rural solar installation works: 2026 guide – Smart Home Technical Ltd
